How to make a pixel stretch portrait
By Emre Ertunc · Published July 10, 2026 · Updated August 7, 2026 · 5 min read
A portrait already carries the color you need: a striped jacket, a red coat, a sports kit, a streak of dyed hair. Pull that color into the space beside the person and the photo turns into a poster.
How do you make a pixel stretch portrait?
Place the sampling bar across the clothing or hair near the edge of the silhouette, pull the ribbon into the open background beside the subject, and shape it with one long arc. Smart Subject keeps the person sharp in front of the color.
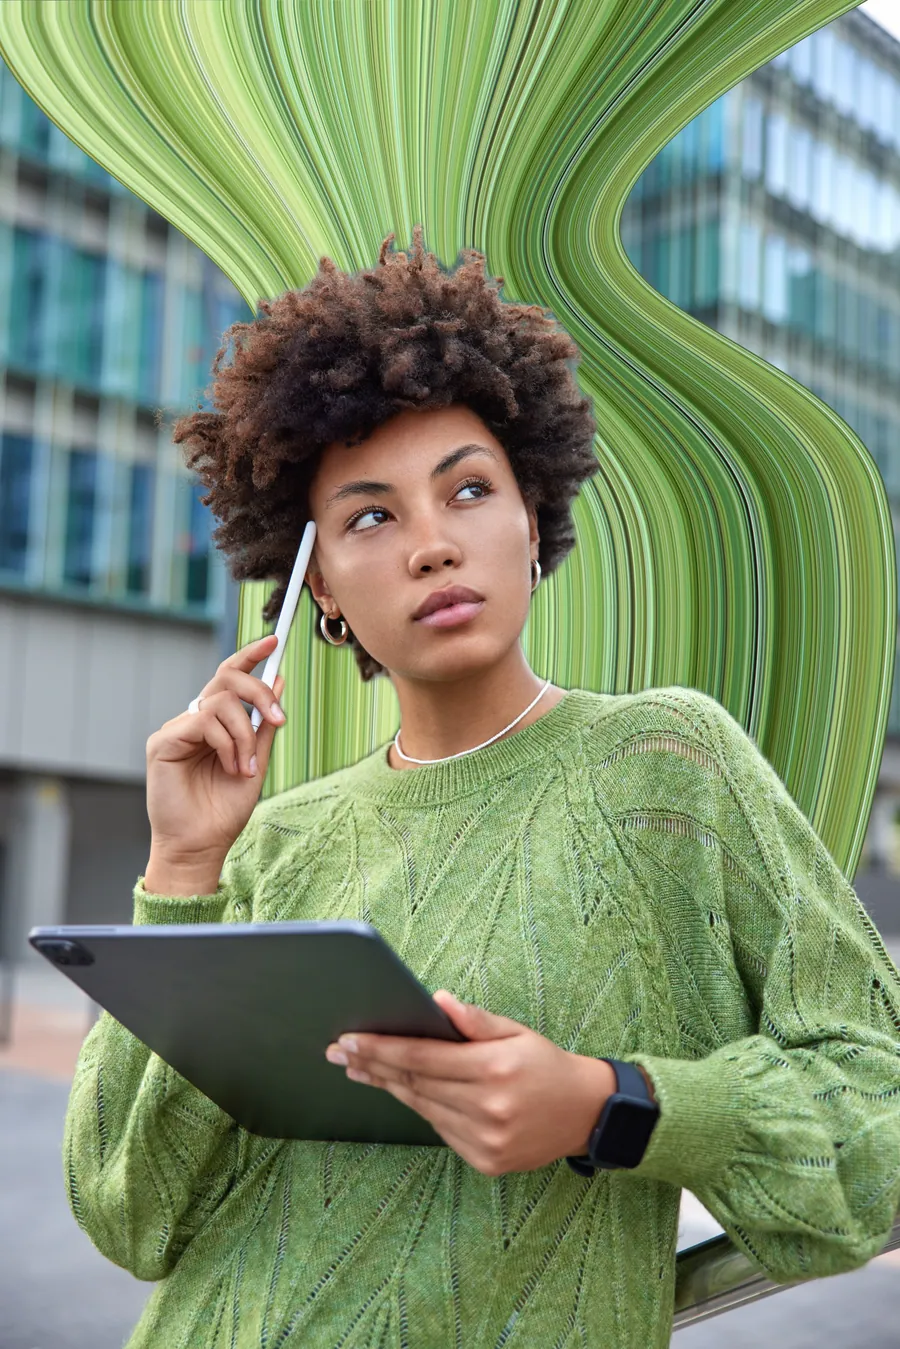
A portrait stretch is a two-part edit: pick the strip of color worth pulling, then give it somewhere to go. Get those two right and the curve itself stays simple — usually a single arc.
Pick a portrait with color and room to move
- Patterned clothing is the easy win. Stripes, florals, checks, and sports kits turn into ribbons with built-in detail.
- One strong color also works. A red coat or green sweater can make a clean poster-like band against a quiet background.
- Look for a clear silhouette. Space around a shoulder, arm, or side of the body gives the ribbon a believable starting point.
- Leave room beside the subject. A tight crop runs the ribbon out of the frame before it has time to curve.
The portrait edit, step by step
Sample the clothing or the hair
Place the bar across a jacket, dress, jersey, or colored hair near the outside of the silhouette. Rotate it until the strip holds a useful mix of colors — that mix is what gives the ribbon its detail.
Pull into the open side
Use the arrow pointing at the side with more background. A shoulder-level trail is the natural starting point for most portraits, and it gives the ribbon the longest run.
Curve it with one arc
Move the blue points so the ribbon frames the person rather than circling them. One long arc behind a shoulder reads stronger than a tight wave.
Use Smart Subject when available
Smart Subject places the detected person back in front of the ribbon. Check hair, fingers, loose sleeves, and gaps between limbs before assuming the automatic edge is perfect.
Set the finish and blend
Taper the far end for motion, or widen it for a graphic backdrop. Use Edge hue for separation and Opacity when the ribbon needs to sit more quietly behind the person.
Compare before you save
Hold Compare to see the original against the edit. Adjust anything that feels off, then save a high-resolution copy.
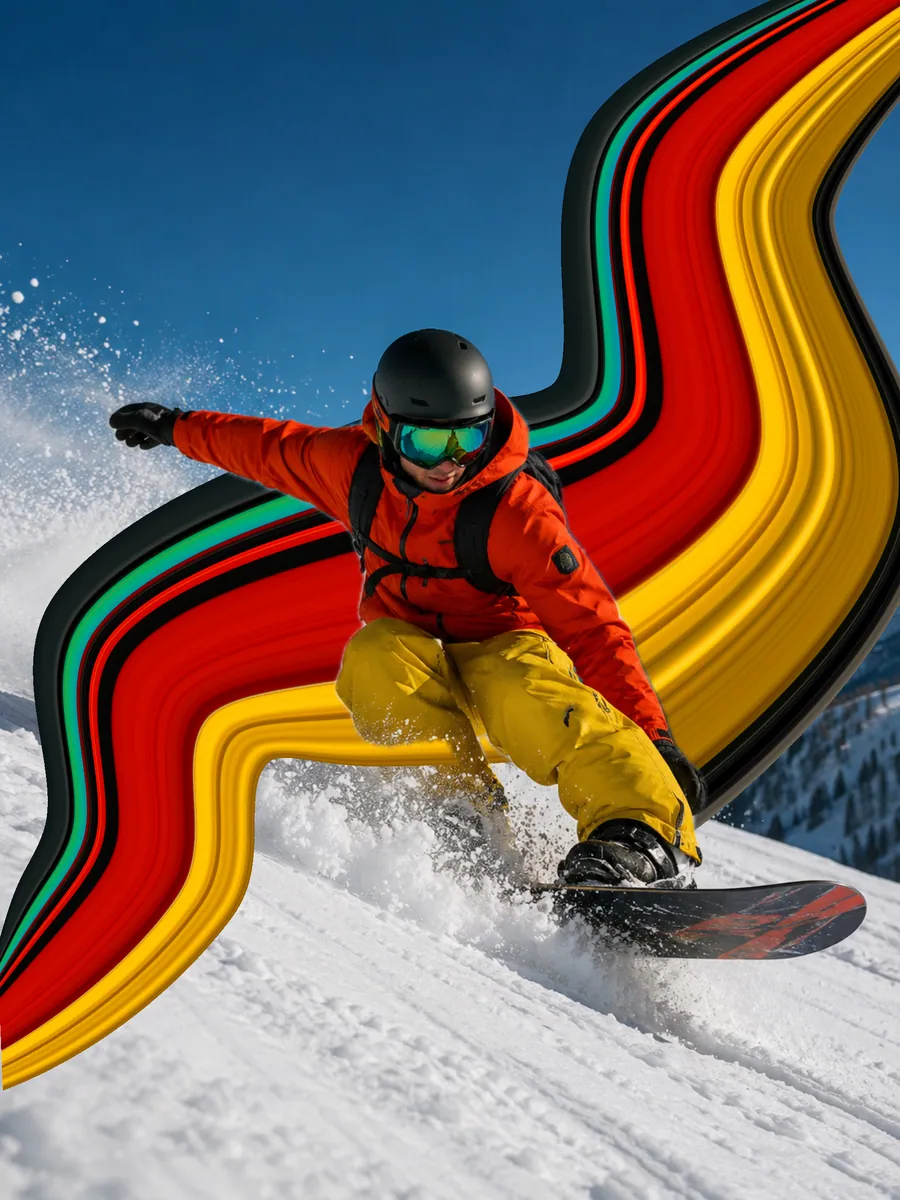
Smart Subject keeps the person in front
Smart Subject detects the person and places them back over the painted ribbon, so the color reads as something behind them rather than across them. It is a layering step, not a cut-out tool: it does not replace the background or hand you a masking brush. When it is unavailable, keep the bar on the outer edge and draw the path into open space instead.
Three compositions that work
- The shoulder trail. Pull a ribbon from a bright jacket into the space behind the subject. This is the safest starting point for a profile or three-quarter portrait.
- The high arc. Send the color up and behind the head, leaving a gap around the hairline. It reads like a concert poster.
- The side panel. Use a straighter, wider stretch beside the body to build an abstract block of color for a cover or wallpaper.
If the result looks flat
- The bar is sitting on skin rather than fabric, so the ribbon comes out muddy. Move it onto the jacket or the hair.
- The ribbon and the background are equally busy. Pull into the quietest part of the frame instead.
- Smart Subject is on, but fine hair or a loose sleeve needs a second look at the edge.
- The color is fully opaque when it should sit back. Drop Opacity and let the portrait lead.
- The path is doing too much. One arc almost always beats three bends.
For more control over width and the finishing line, read How to curve, warp and twist a pixel stretch. For other subjects that suit the effect, browse Pixel stretch ideas.
Frequently asked
Can I use the pixel stretch effect on a selfie?
Yes, if the selfie leaves room beside the person and includes clothing, hair, or another strong strip of color to sample. A very tight face crop gives the ribbon nowhere to go.
Does a portrait need colorful clothing?
No, but color or pattern gives the ribbon more structure. With dark or neutral clothing, look for highlights, reflections, hair color, or a contrasting accessory.
Are portrait photos uploaded for Smart Subject?
No. Photo editing and subject processing happen on-device, and photos or finished images are not uploaded to our servers.
Where should the ribbon start on a portrait?
At the outer edge of the silhouette, usually a shoulder, an upper arm, or the side of the hair. That is where clothing colors are cleanest and where there is open background to pull into.
Does the person need to be in focus?
Yes. The stretch adds movement around a subject, it does not sharpen one. A soft or badly exposed portrait stays soft under the ribbon, and the contrast between a crisp subject and a flowing band of color is what makes the edit read as deliberate.
What if Smart Subject does not detect the person?
The editor still works. Keep the sampling bar on the outer edge of the body and draw the path into open background, so nothing needs to be layered back in front. Profile and three-quarter poses make this easiest.